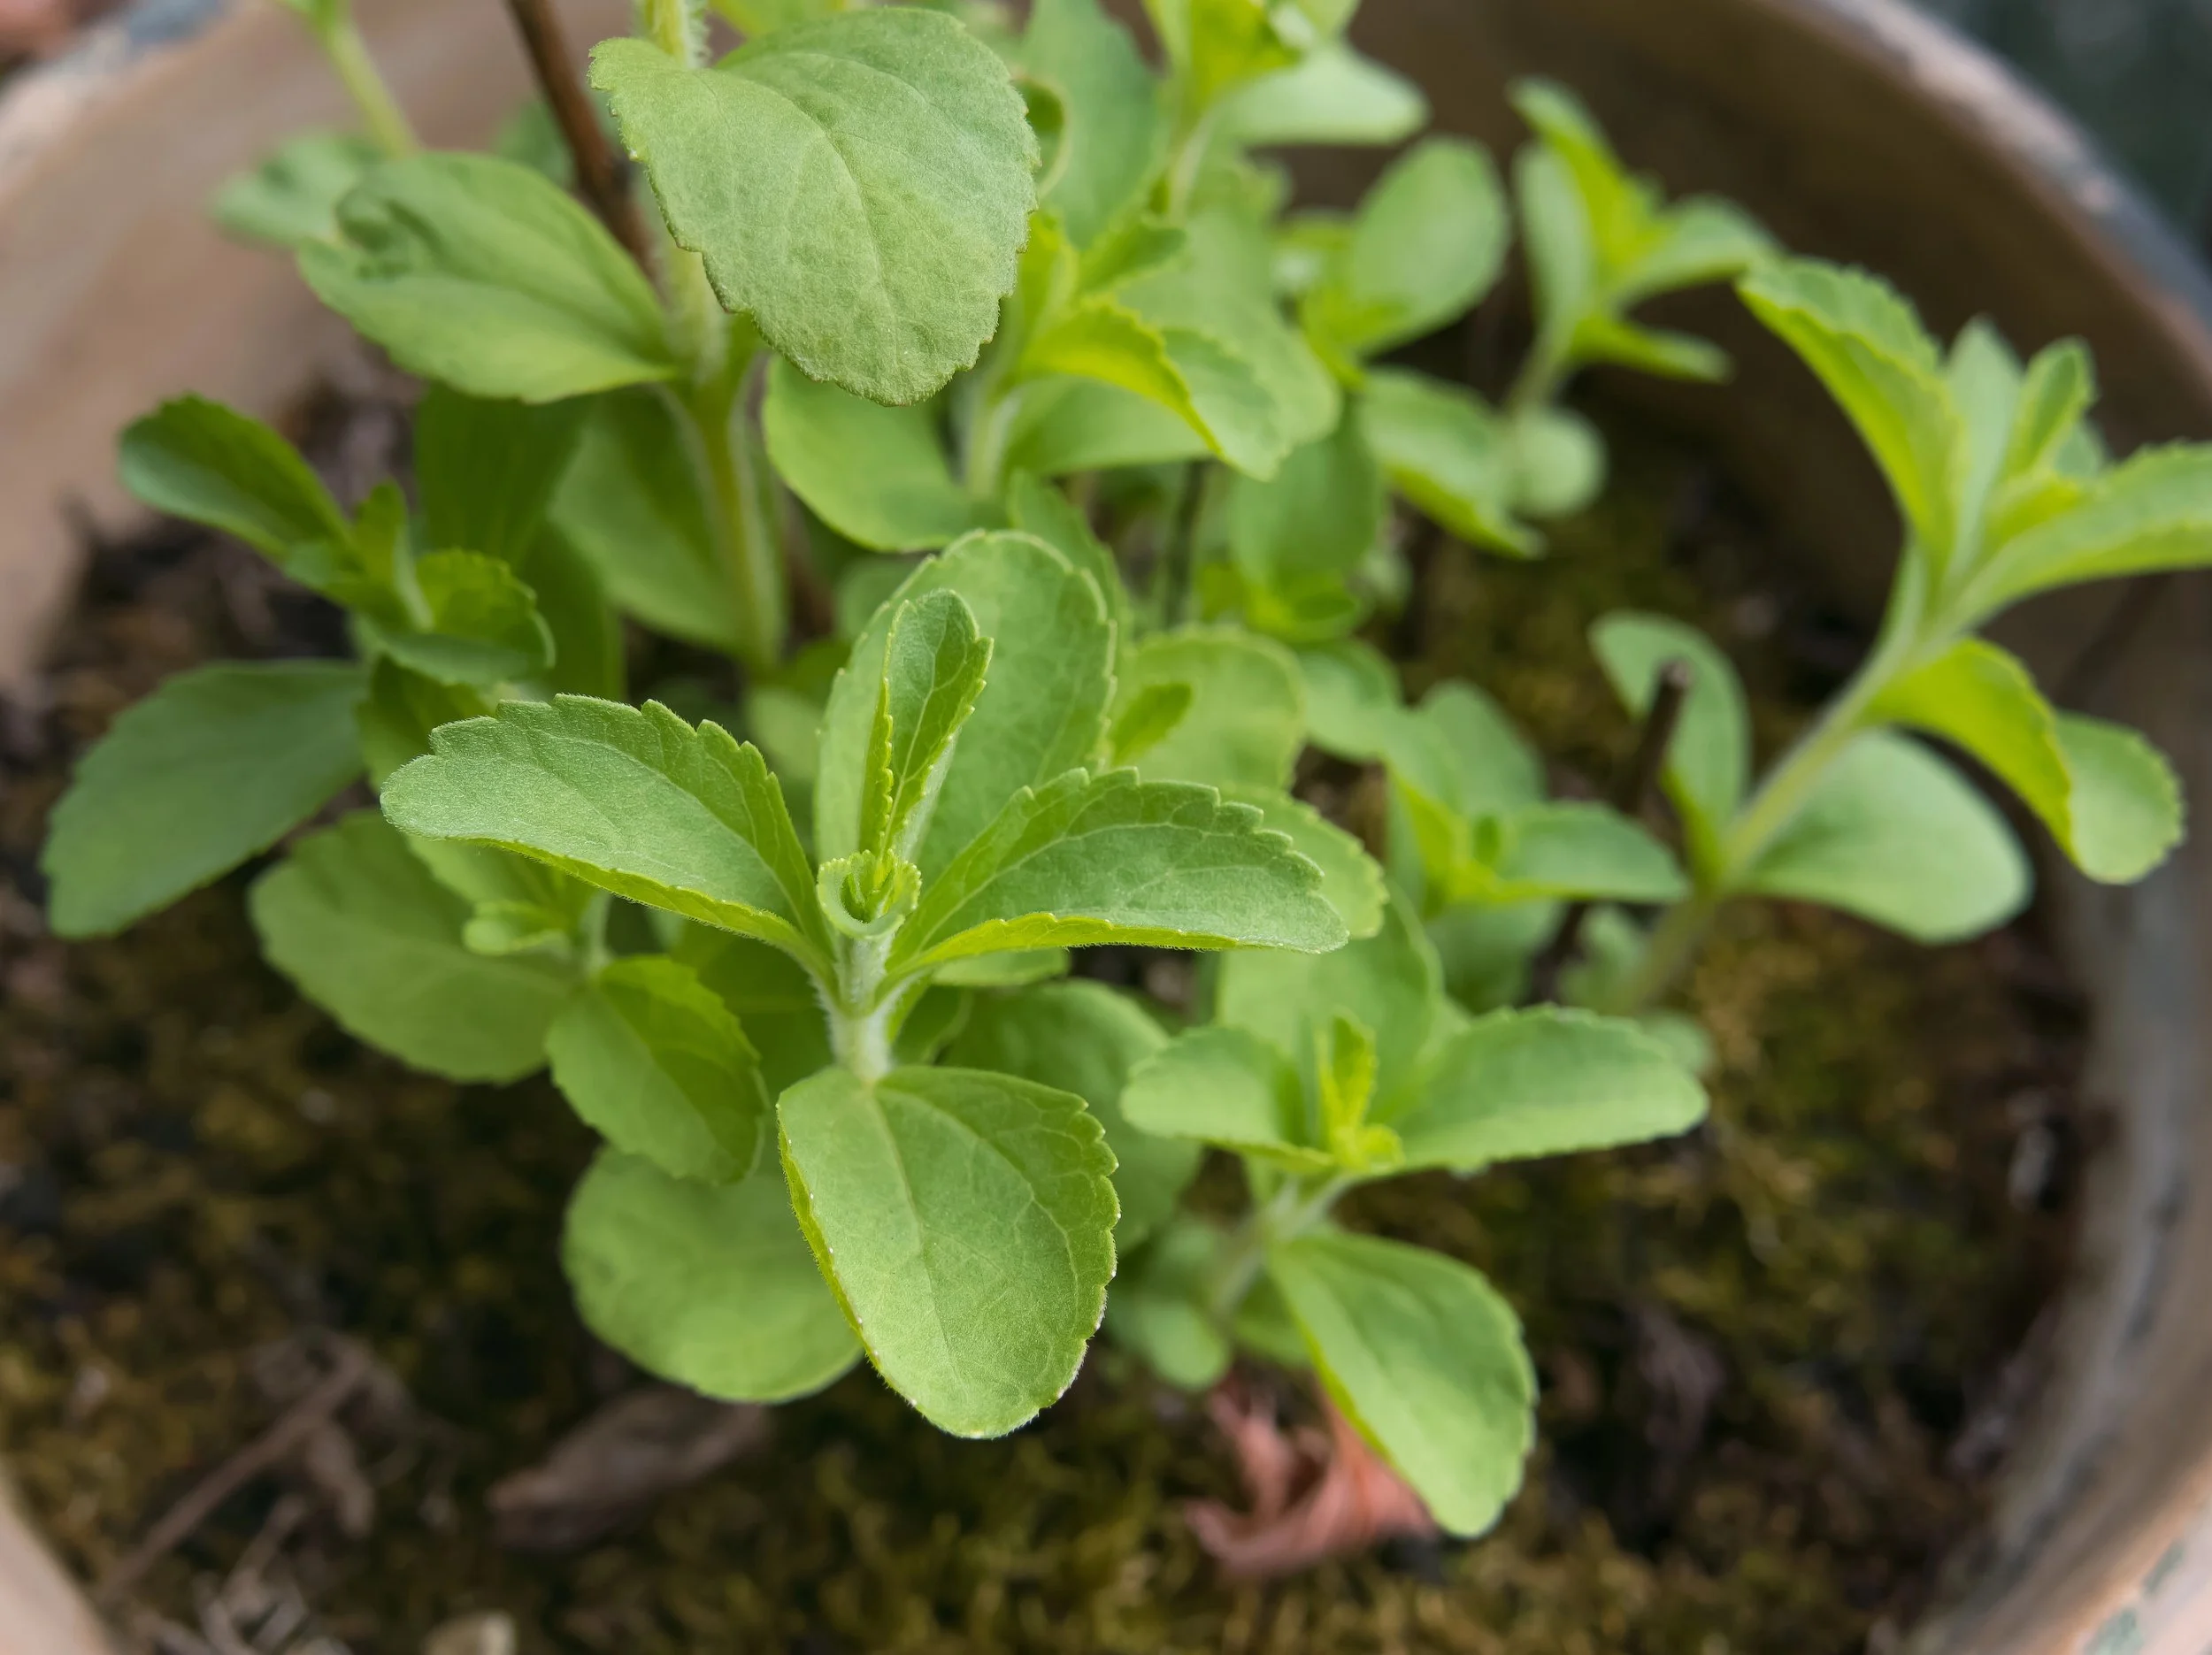
San Diego Grown Stevia + a Little Sweet Myth Busting
If you've ever grown a stevia plant and then wondered what to actually do with it, you're not alone. Most of us are familiar with stevia only in its packaged form (those little white packets on the café counter). But fresh stevia leaves are a different experience altogether, and they're surprisingly easy to grow and use at home. Let's bust a few myths and get you started.
Myth #1: Fresh Stevia Tastes Just Like the Packets
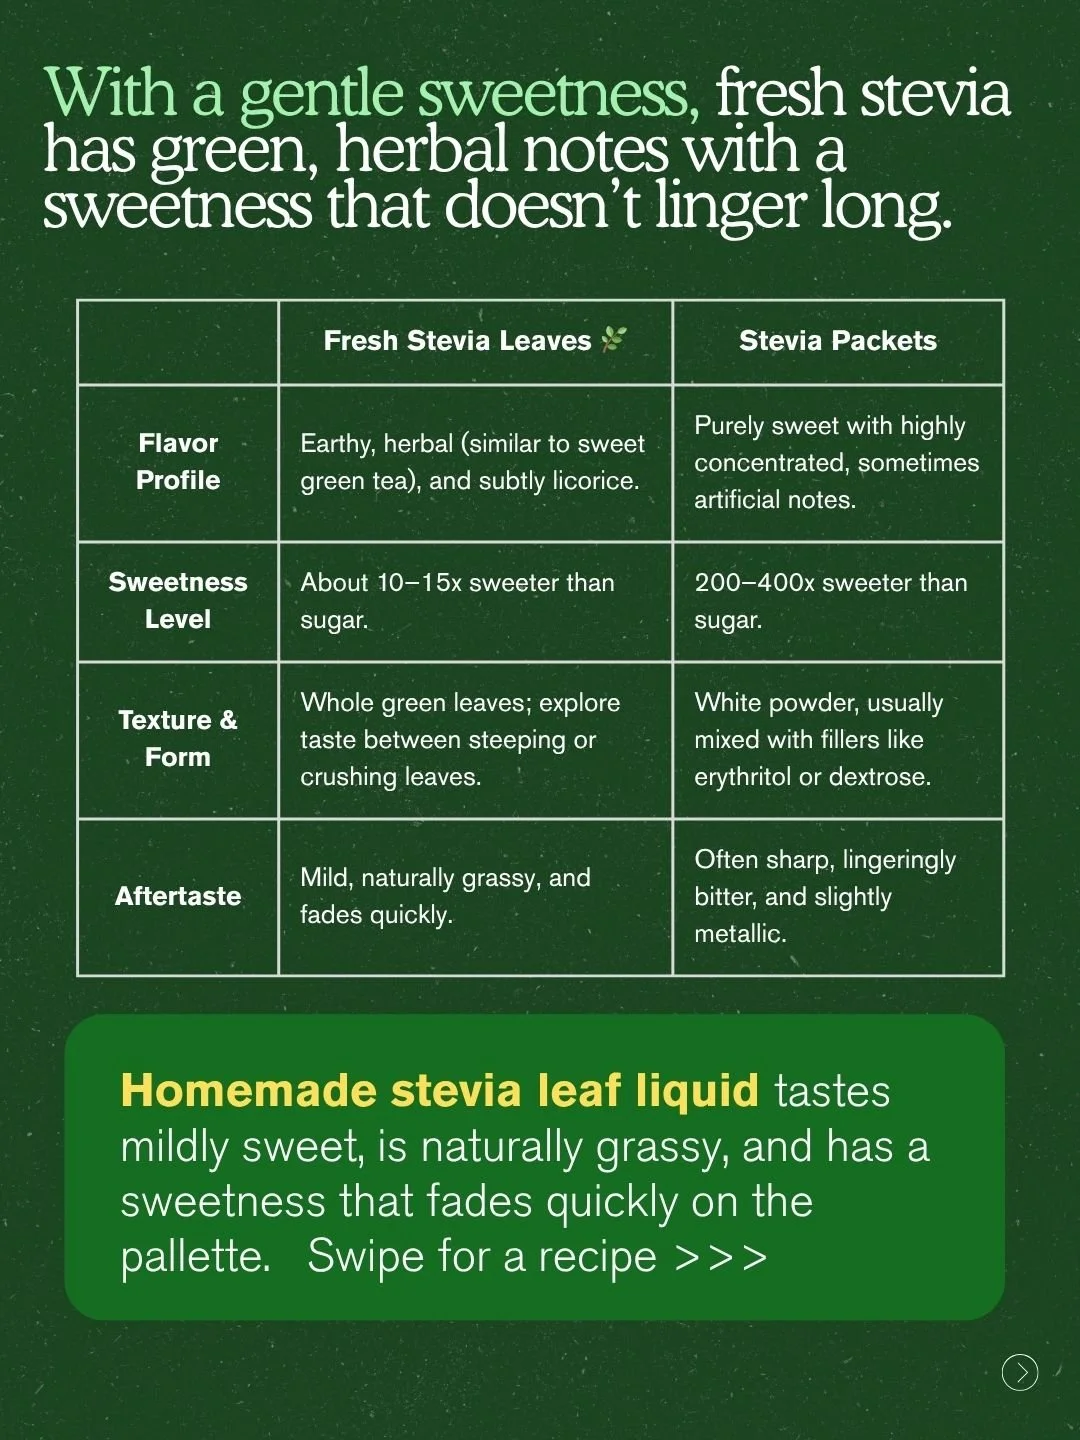
Not even close. Fresh stevia leaves have an earthy, herbal flavor — think sweet green tea with a hint of licorice — and a sweetness that is gentle and fades quickly on the palate. Stevia packets, by contrast, are 200–400x sweeter than sugar, highly concentrated, and often carry a sharp, lingering bitterness with a slightly metallic aftertaste (thanks to the fillers like erythritol or dextrose they're blended with).
Homemade stevia leaf liquid is mildly sweet, naturally grassy, and leaves almost no aftertaste. It's genuinely pleasant in a way the packets often aren't.
Myth #2: It’s Fussy to Grow
Stevia is a surprisingly easy herb to grow, especially here in San Diego where the sun is generous. A few things to keep in mind:
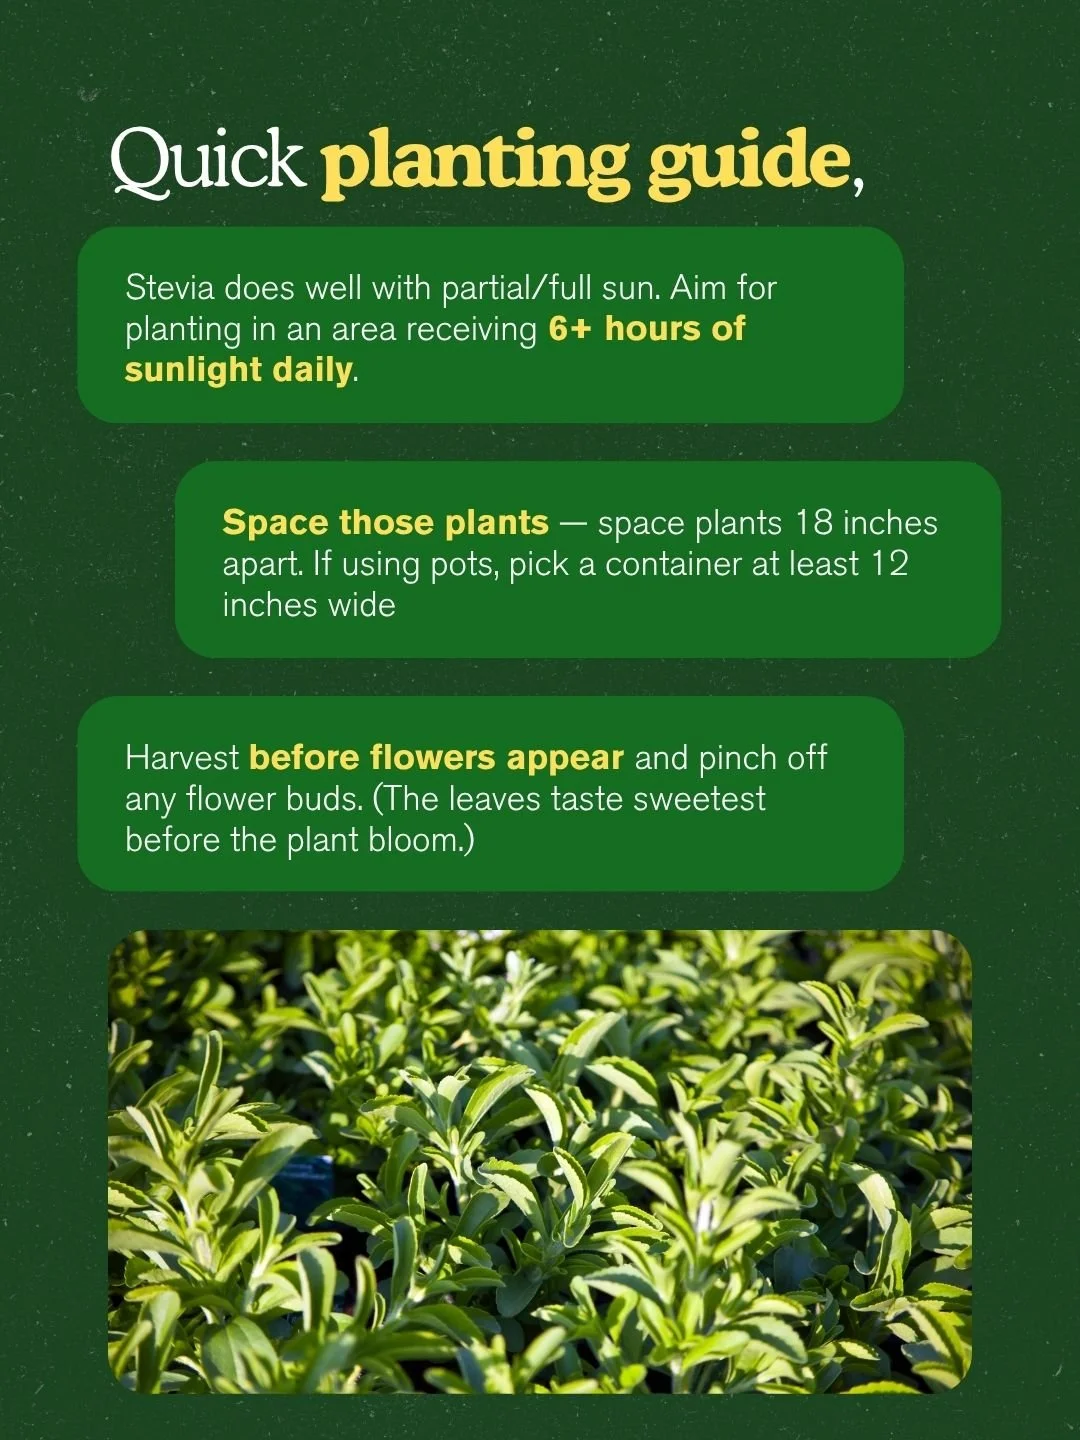
Sunlight: Stevia does well in partial to full sun. Aim for a spot that gets 6 or more hours of direct sunlight daily.
Spacing: Give plants room — space them about 18 inches apart. If you're growing in containers, choose a pot at least 12 inches wide.
Harvesting: This is the key tip most people miss: harvest before the flowers appear, and pinch off any flower buds you see forming. The leaves are at their sweetest just before the plant blooms. Once it flowers, the sweetness in the leaves diminishes noticeably.
Myth #3: It’s Hard to Process
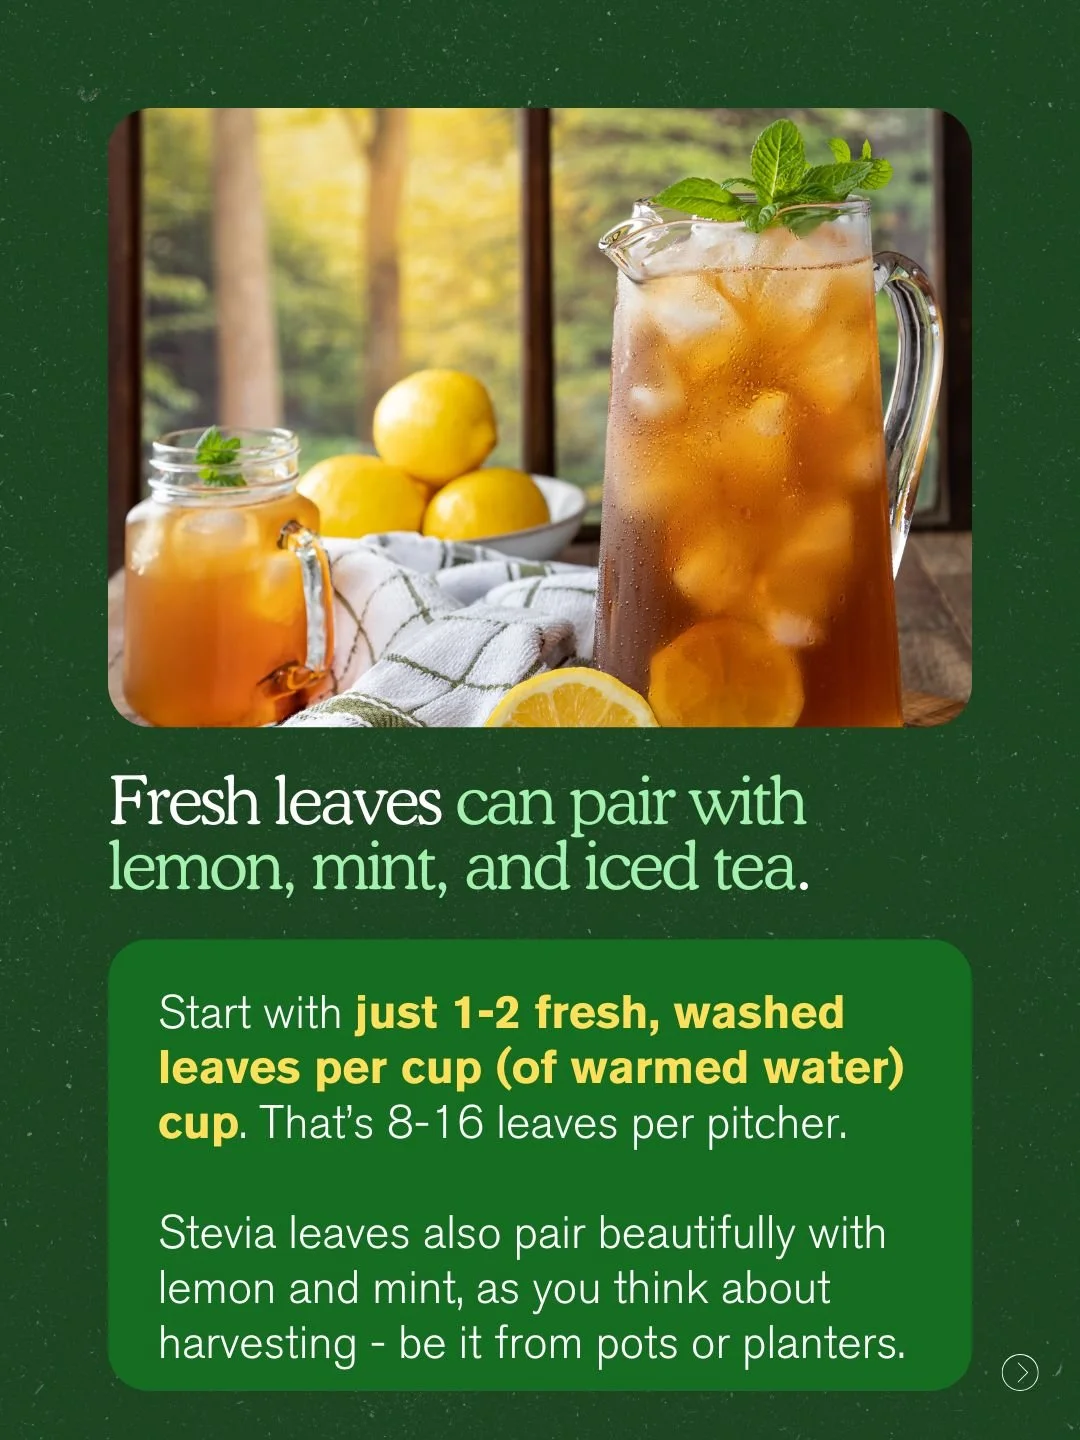
Fresh leaves don't require any processing at all. Just 1–2 washed leaves per cup of warmed water is enough to add a gentle sweetness — that's 8–16 leaves for a whole pitcher. Stevia also pairs beautifully with lemon and mint, making it a natural fit for summer iced teas and lemonades.
It's a wonderful thing to harvest from pots on a patio or a planter by the kitchen door.
Myth #4: It’s Not Versatile
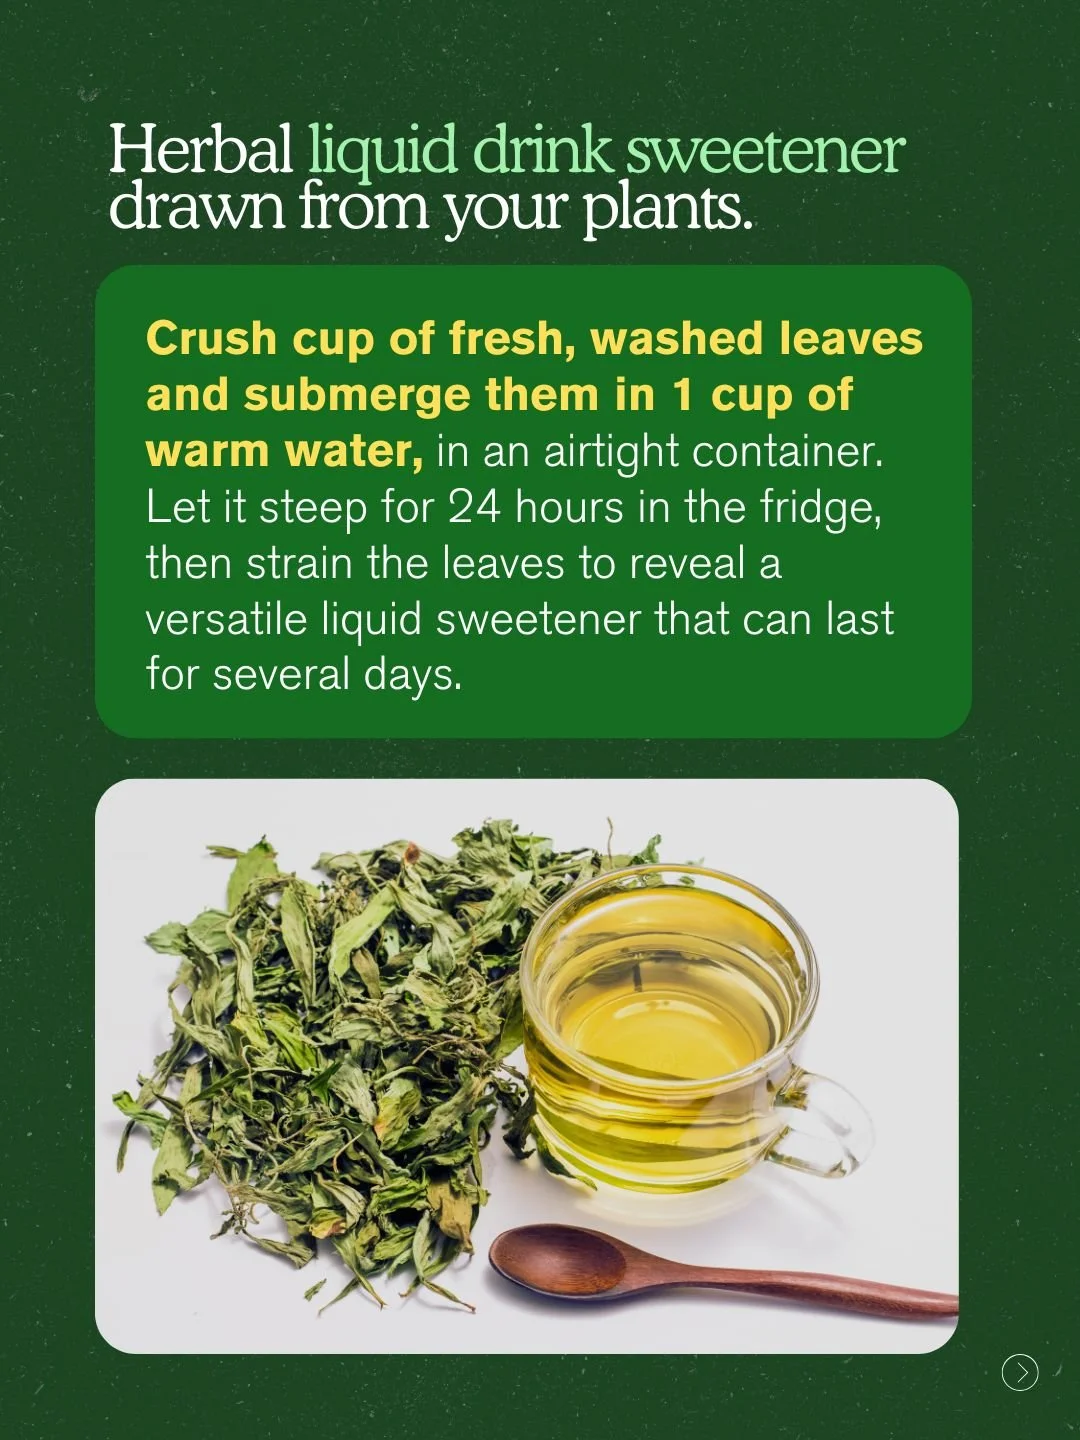
Turns your plant into a genuinely useful kitchen ingredient - a liquid sweetener that will hold well in the fridge.
What you need:
1 cup of fresh, washed stevia leaves
1 cup of warm water
An airtight container
What to do:
Crush the leaves and submerge them in the warm water in your airtight container. Let the mixture steep in the fridge for 24 hours, then strain out the leaves. What you're left with is a versatile liquid sweetener that keeps for several days in the fridge.
Use it to sweeten teas, lemonades, smoothies, or anything else you'd normally reach for sugar or a packet.
Care Tips for Ongoing Sweetness
🌿 Stevia does well in partial to full sun, so aim for a spot that gets 6+ hours of sunlight each day. Give each plant plenty of room to grow, spacing them about 18 inches apart, or choose a container at least 12 inches wide if you’re planting in pots. ✨
🍃 The best part? Harvest the leaves before flowers appear and pinch off any flower buds, since the leaves taste sweetest before bloom. We’ve also included a simple recipe cards, below, so you can enjoy your homegrown stevia in a fresh homemade way. 🌞
Harvesting Tip: This is the key tip most people miss: harvest before the flowers appear, and pinch off any flower buds you see forming. The leaves are at their sweetest just before the plant blooms. Once it flowers, the sweetness in the leaves diminishes noticeably.
Stevia is available while supplies last, grown from our hot-houses for the season.